Table Saw Crosscut Sled
Why you need a crosscut sled
A table saw is one of the staple tools in any woodshop. If you have a table saw, then an accurate crosscut sled should be first on the list of accessories to build for your saw. I find that having a crosscut sled is key to making the saw as versatile as possible. Most table saws big and small are good for rip cutting right out of the box, but this isn’t always the case for crosscutting. A good crosscut sled makes your table saw great for achieving accurate, and repeatable cross cuts.
A crosscut sled can help you achieve really clean cuts with minimal tearout. This is because the sled will provide support to the two faces of the board that need it most, the underside and the backside of board. These are the two faces through which the blade of the table saw will exit the wood. Tearout can occur when the wood fibers aren’t supported around where the blade exits the wood. This kind of support is also called zero-clearance.
The other benefit of a crosscut sled is the ability to use a stop block to make repeatable cuts all with the exact same length. For this you clamp on a piece of wood, line up your workpiece to this block, make the cut, and repeat. Some crosscut sleds integrate a track for the stop block into the fence, but clamping on a chunk of wood works well too for a quick and easy solution.
Design considerations
In its simplest form, a crosscut sled is made up of a base, a back fence, a front fence, and runners along the bottom.

The base is just that, a base. The back fence is the most critical part of the sled, it needs to be flat and perfectly square to the blade in order to achieve accurate cuts. The front fence is mostly just there for support and to hold the two sides of the base together on that side. Lastly, we have the runners which slide along the grooves in the top of the table saw. The runners are the other critical part because they need to allow the base to slide without wiggling in order to get accurate cuts. Before we get to the build, let’s look at the size and material considerations for all these parts.
Selecting materials for the base:
For the base you want something that is smooth and flat. Plywood or MDF are going to be the best options here, especially given the size. If you use plywood, aim for a higher quality plywood that isn’t going to warp on you.
1/2” material is best for the base, but 3/4” can also be used. 1/2” materialwill make the whole thing lighter, and it will increase the max cut height you can make on the sled by a ¼”.
Base size:
The size of the base determines the size of the whole sled. You can make it as big or as small as you want. Keep in mind though, that the depth will determine the widest board you can cut on it. The width of the sled doesn’t determine the longest board you can cut though, because the board can hand off to either end. A wider sled will provide more support for longer boards though and make them easier to cut. A longer sled also provides more area for clamping a stop block.
When choosing the size of the sled, consider the size of your table saw. If you have a small table saw, a really really large sled will be hard to work with. If you have a large cabinet grade table saw, then you really can make it quite a large sled.

I’m making mine 18” deep and 24” wide with the blade offset to give more length for a stop block on one side. After some use, I think it would have been nice if the short side was a few inches wider. I think the depth is great for a compact table saw such as this one. If you have a large cabinetry table saw, consider making a bigger sled.
Selecting materials for the fence:
Next up we have the fence. Plywood is probably the simplest choice here, but a nice hardwood can also be a good option if you have the right tools. If you use plywood, I’d recommend laminating a few pieces together to make a piece that is about an inch and half thick. So this would mean two pieces of ¾” or 3 pieces of ½”.
A nice thick piece of hardwood like maple can also make a nice fence, but only if you have a jointer and planer in order to get it milled perfectly square. And if so you will want to get it roughly cut, let it acclimate to the air in your shop, and then mill it perfectly square and to size.
Stay away from softwoods here as they are going to be the least durable and most prone to warping. In other words, don’t try and use a 2x4 stud for your fences.
Fence height:
The fence can be as short or tall as you like with one catch. If it is not tall enough, you have to be careful not too cut with the blade too high or you might cut your sled in half. I like to make my fence tall enough so that I can use the sled with the blade at full height if need be.
On this sled, I made the fence 3.5” tall. This is on top of a 3/4” base making the top of the fence 4-1/4” above the top of the table. My table saw has a max blade height of 3-1/8”, so even with the blade at full height, I still have more than an inch of material at the top of the fence that won’t get cut and will hold the two sides of the sled together.
Selecting material for the runners:
Softwood, hardwood, or plywood? Or premade runners made from aluminum??
Definitely avoid softwood for the runners! It just won’t be durable and last. Plywood can work, but a good dense hardwood is really the best option here. Maple is a common choice for sled runners.
Another option here and perhaps the most durable and accurate in the long run is to buy premade runners. These are often made from aluminum. Another advantage of these is that some also offer adjustability so you can fine tune how they sled.
Here are some good options:
Incra 18” Miter Slider: https://amzn.to/3kOheOB
Rockler 18” Aluminum Miter Bar: https://amzn.to/3i2hlEv
Rockler 24” Aluminum Miter Bar: https://amzn.to/3443YP6
Kreg 30” Jig and Fixture Bar: https://amzn.to/3mPkviy
MICROJIG ZEROPLAY Miter Bar: https://amzn.to/340PHmj
(The links listed above are affiliate links. I earn an affiliate commission from qualifying purchases. Making purchases through these links is a simple way to support me - thanks!)
Build steps
Step 1: cut out the pieces
Start out by gathering your materials and cutting out the pieces. As discussed above you can build the sled any size you want, but here is the cut list from my build.
At this step, cut the fence pieces slightly oversized. You can trim them down to the final size after glueing them together.

Step 2: glue up the fences


I started by adding wood glue to both sides. Then I put the two sides together, lined them up, and shot a brad nail into each corner. The brad nails will keep the boards from sliding when we add the clamps. This is my favorite method for keeping things aligned during a glue-up like this.

I used a level in between the boards and the clamps. This plywood was fairly flat, but had a slight bow to it. The level will act as a straight edge to keep the boards flat until the glue has dried.
Next, repeat the process for the smaller fence. You don’t need to clamp a straight edge to this one. This piece is just for support and not a reference edge while cutting so it is okay if it isn’t completely flat
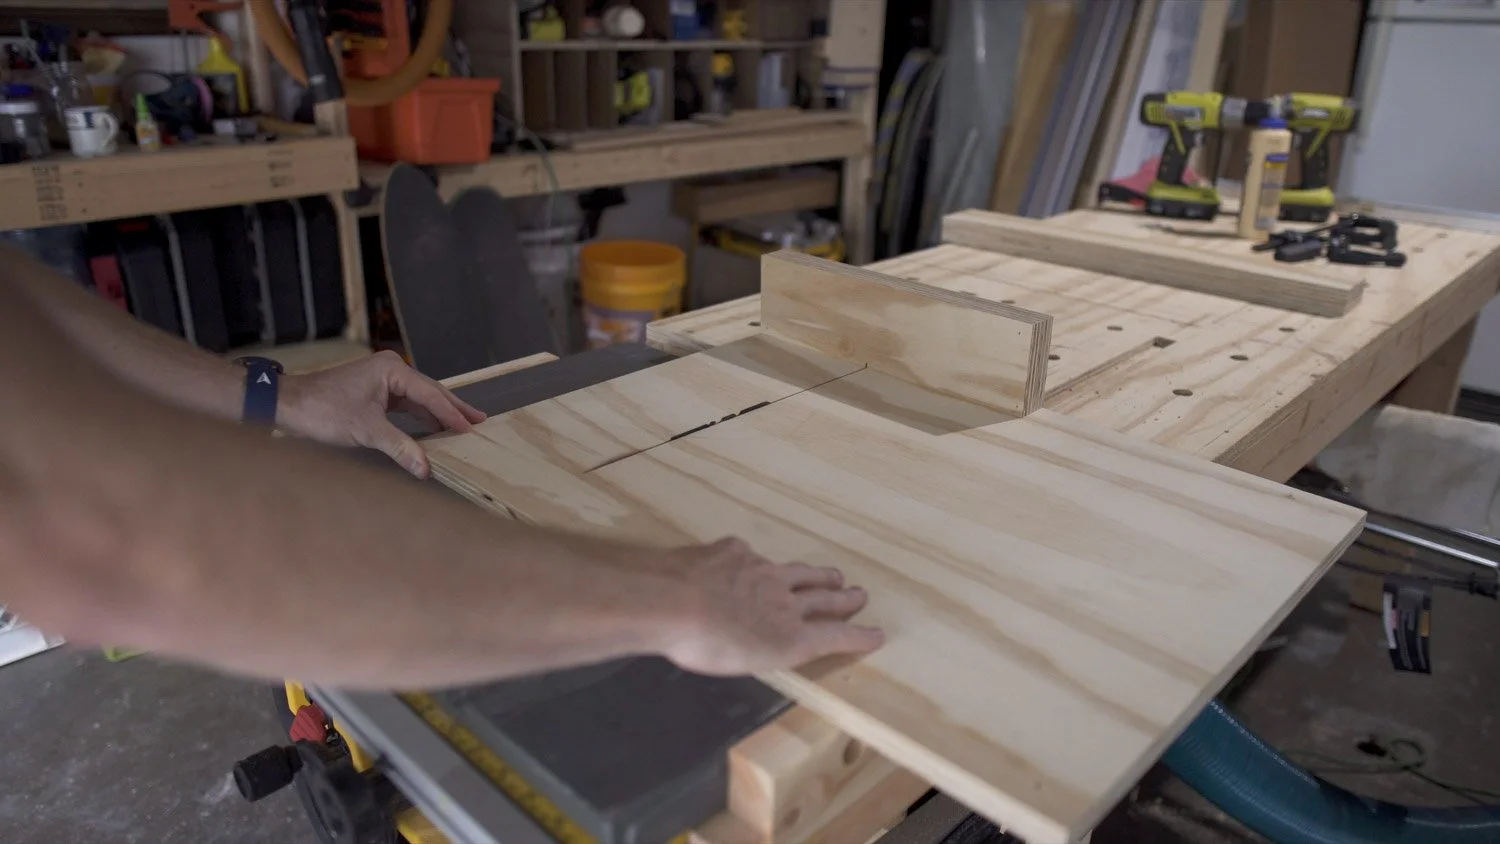
Step 3: glue the runners to the base
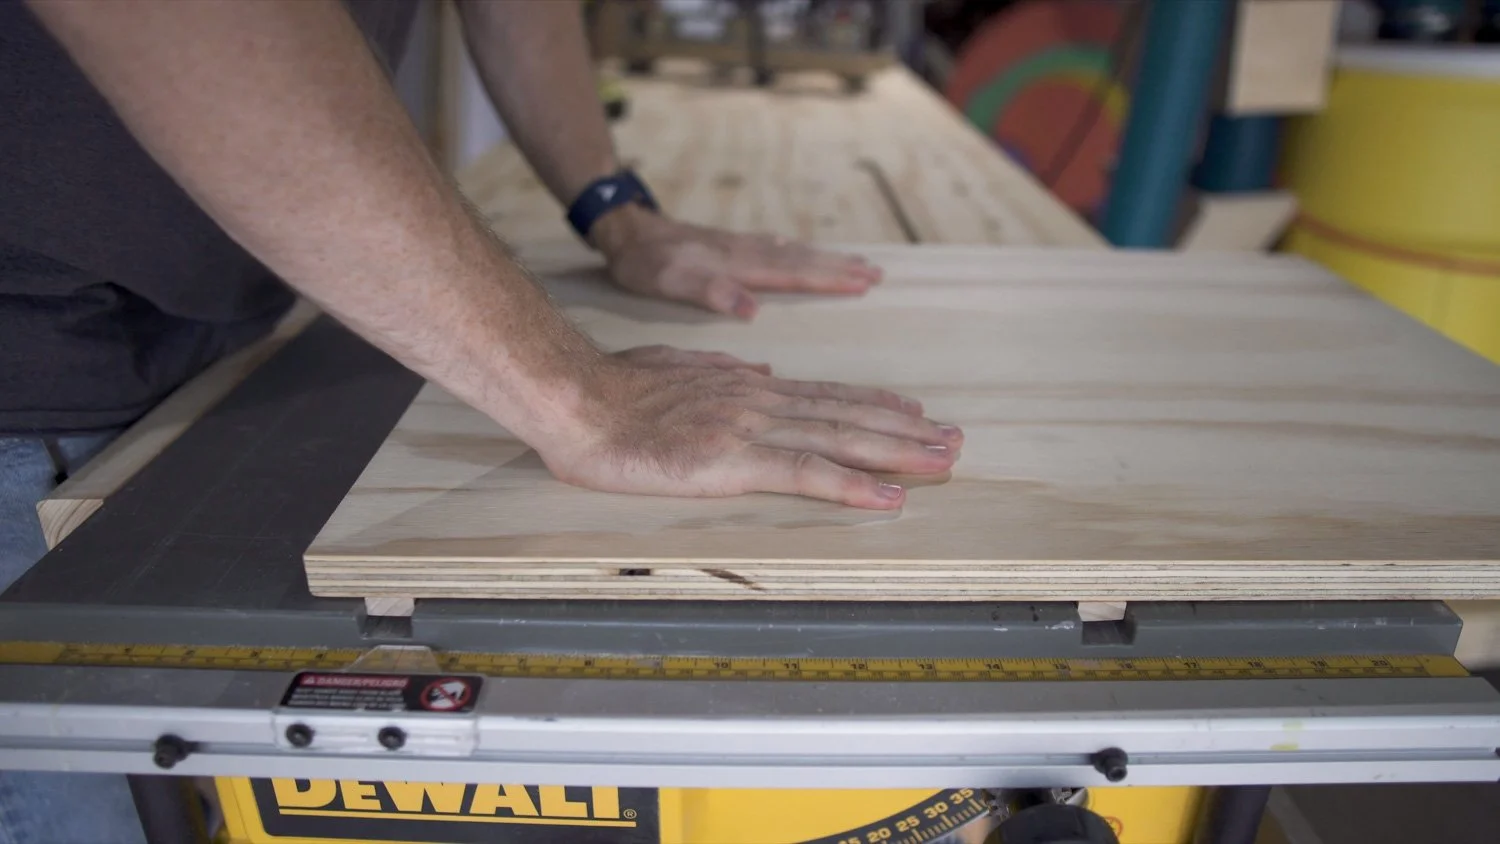
While the fence pieces dry, work on attaching the runners to the sled base. First check how they slide and trim them till they fit just right. The thickness should be a little thinner than the grooves in the table saw. For the width, you have two options. The first is to get them just the right width where they slide without wiggle but aren’t too tight. The second option is to cut them a little thin, and then we will eliminate the wiggle by how we attach them to the base, having each runner hug the inside or outside edge of the slots. I cut them a little on the thin side and then glued them on so that they hugged the insides of the slots.

Before glueing the runners to the base, drill and countersink holes for screws for securing the runners to the base. For 18” runners I drilled 4 holes in each.
Now, we’ll get ready to glue the first runner to the base. Since they are thinner than the slots in the table, we need to shim them up while we glue them to the base. I used some popsicle sticks for this, but pennies also work.
Before adding glue, do a quick test fit to confirm how you want to position the base.

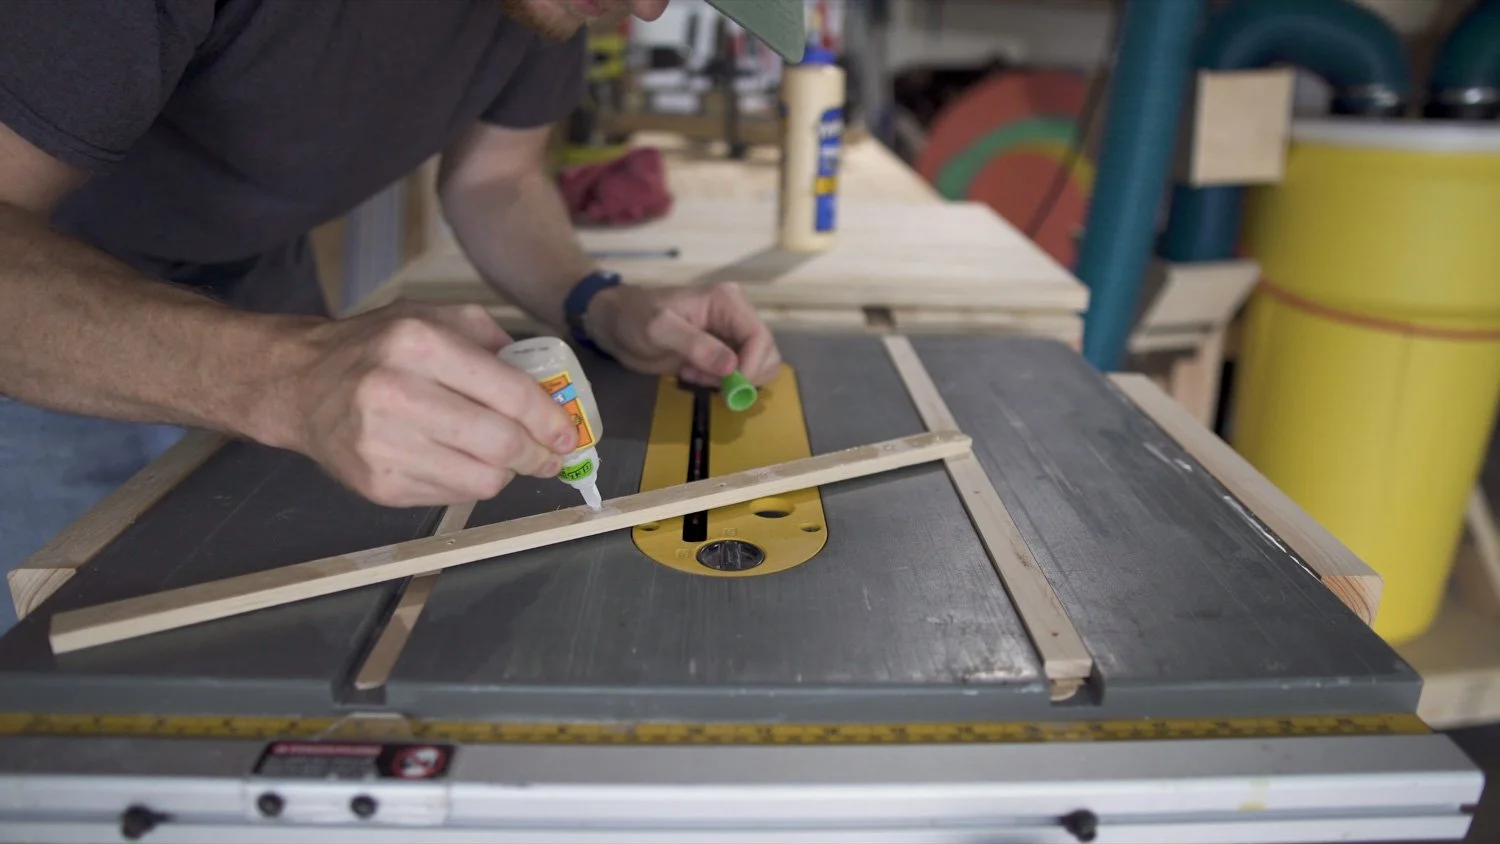
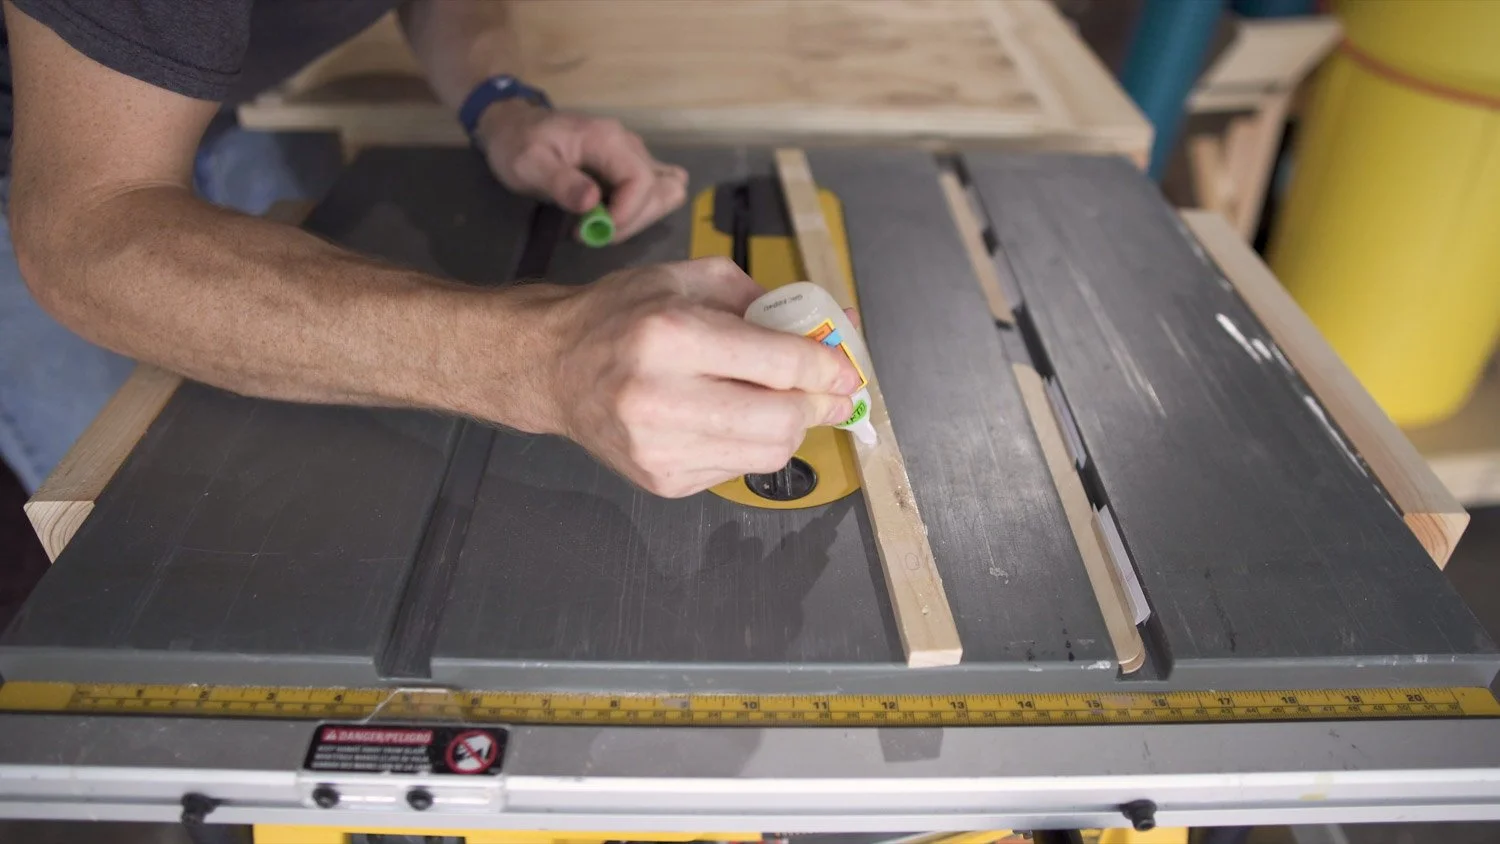
To glue them down I’m going to use a combination of wood glue for longterm strength, but super glue which will quickly cure to hold the runners in place until we add the screws. So as I added the wood glue, I left some little gaps where I could add dots of super glue.
Now I put the base on top and applied pressure for about a minute to let the super glue dry to a firm grip. I find glueing this on one runner at a time easier than trying to do both at once.

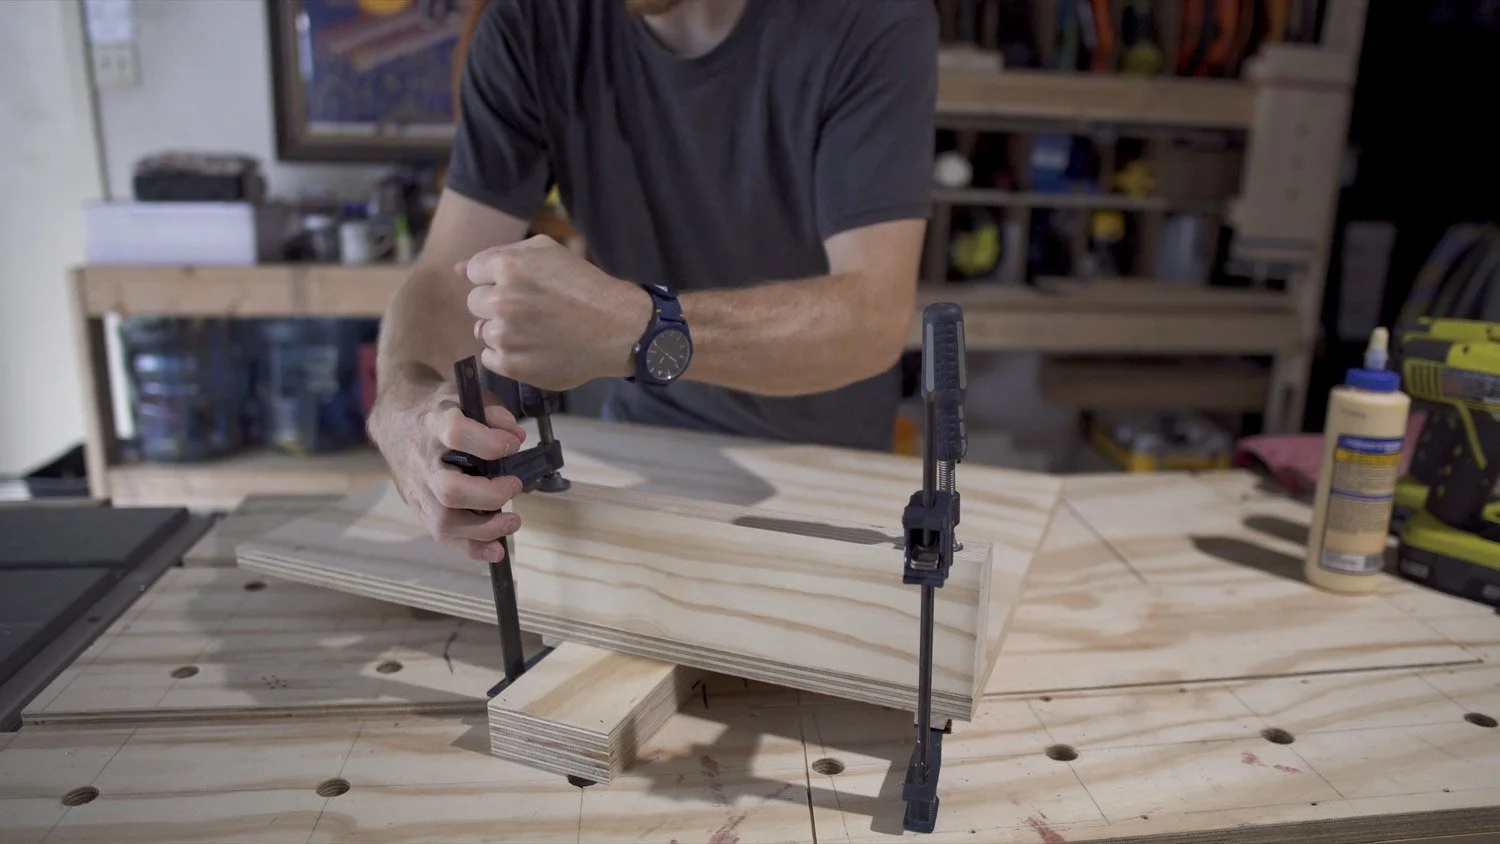
At this point carefully pick up the base and flip it over without putting too much pressure on the runners. Add clamps for extra security so the runner won’t move while adding the screws. Then pre-drill through the base and add screws. The screws will keep the runner solidly in place while the wood glue dries. Be sure to clean-up any glue squeeze out at this point.

Glueing on the second runner will be similar, but we will take extra care to get the alignment just right to make sure the base slides over the table without wiggling. To do this we will align the second runner to the inside of the slot and add pressure while glueing to eliminate this wiggle by having both runners hug the inside edge of the slot.
Before gluing, prepare the slot by adding some folded up pieces of paper to shim the second runner firmly towards the inside edge of the slot.
Now we can add our same glue combination as before, get the runner in place, set the base on top and add pressure. This time we need to add both downward pressure and sideways pressure to pull our first runner toward the inside edge of its slot.

Once the super glue has set we can flip it and add our screws.
Test how it slides immediately. If something is really off you want to be able to undo it before the wood glue has dried. If the runners are just a little too snug, you can carefully sand a little bit of those inside edges.
If it slides well, then you are ready for the next step.
Step 4: prepare the fences
By now the glue on the fence pieces should have had plenty of time to dry and we can unclamp them.


Now we need to cleanup/square up all the edges of our fence pieces. I used a track saw to clean-up the first edge and then the table saw for the rest.
During all this, be sure to watch out for the brad nails in the corner. When you add those brad nails during the glue up, position them more than a ¼ inch from the edges to avoid any problems here.
Step 5: attach front fence
Next step is to attach the front fence. Here I’m clamping it in place to pre-drill holes. After this we can add wood glue, re-clamp and then screw it down. Be sure to think about where the blade is going to travel and add your screws well away from this. In my case I added a screw just inside of each of the runners.
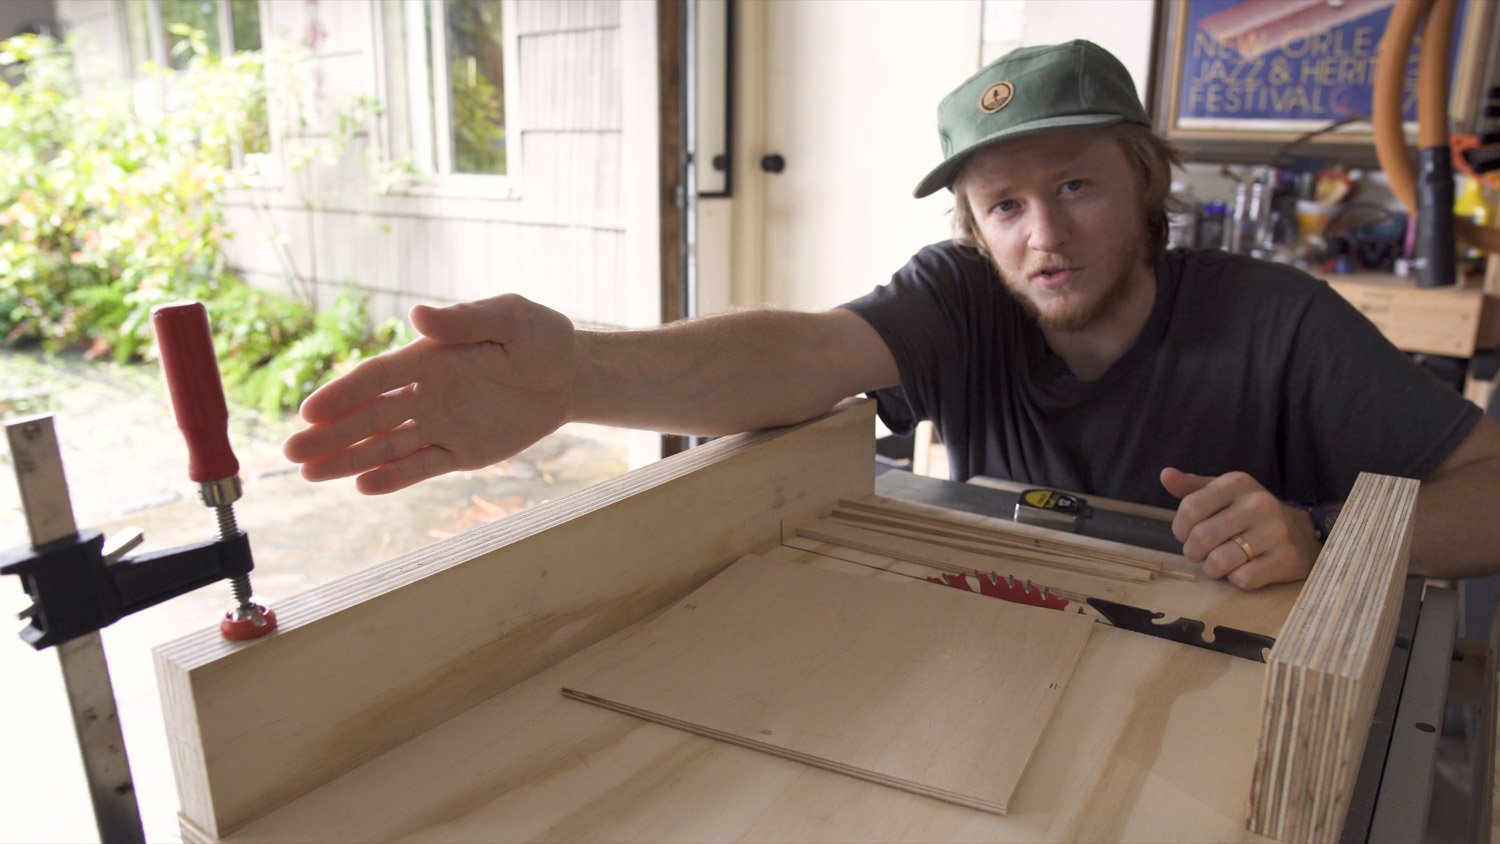
Step 6: attach back fence
Now mark and pre-drill the holes for the back fence. Only pre-drill these through the base. Do not drill through the fence at this time.

Next we will take the sled to the table saw and cut through the front fence and through most of the base, but stop before we get to the back edge. We will use this cut to align our back fence, but we don’t want to cut fully through the base until the back fence is on.
Now we can clamp our fence on and use a square to align it to the fence. I used an engineering square here because it's the biggest square I have that I trust is accurate. At this step we want to get it as close to square as possible, but we will still be testing and adjusting after this.


Now pre-drill and put a screw at one end of the fence only. Leave the clamp on the other end to hold the fence down. The one screw will allow us to pivot the fence as we test and adjust it. Once it is square, we can put the rest of the screws in.
Step 7: test and fine tune fence

Now we will test the squareness of the fence using the 5 cut method. The procedure for testing the squareness of the fence with the 5 cut method goes like this. First get a scrap piece of wood and align it to cut small bit off one side. Now rotate it so that the freshly cut side is against the fence. Again we will align it to cut a small bit off the second side. And again we will repeat this moving the freshly cut side to the fence each time. After 4 cuts we will be back to the first side. On the 5th cut, we want to cut off a wider strip. The exact width doesn’t matter, but aim for about an inch wide.
Measure the two ends of the strip. If one end is wider than the other, our fence isn’t set square. The 5 cut method creates an accumulative error which makes the error easier to measure. The error measured at the end is 4x the error of a single cut.
For a detailed explanation of the 5 cut method and the math to set the fence perfectly, checkout this write-up or for a simplified approach, checkout how I adjusted the fence in the last portion of my video.